Create Test Cycle
This task offers an example of how to create a test cycle from the Test Cycles view and highlights essential aspects of the creation process.
Click the Test Cycles view.
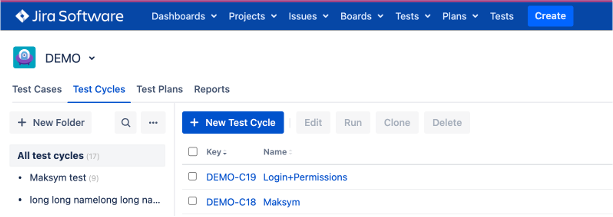
In the Folders panel, select the folder for a new test cycle. If you want to create a new folder, click Create Folder, name the new folder, then mark the check.
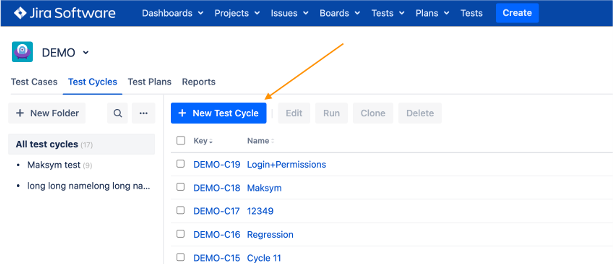
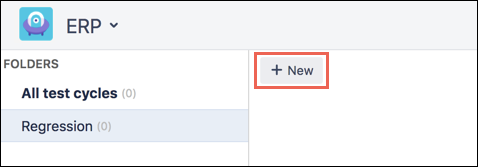
With a folder selected, click New to create a new test cycle.
The Create Test Cycle screen appears and defaults to the Details tab.
On the Details tab, fill in the desired fields, including the name of the test cycle (required), then click the Test Cases tab.
Click Add Test Cases.
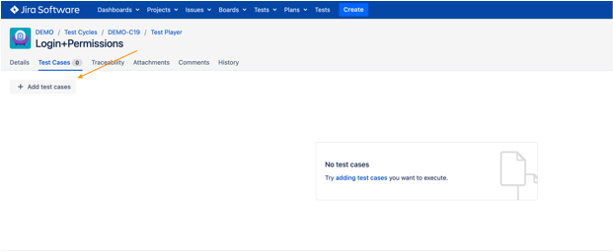
Click the image to enlarge it.
On the Add Existing Test Cases screen, select the test cases you want to add to the new test cycle, and then click Add.
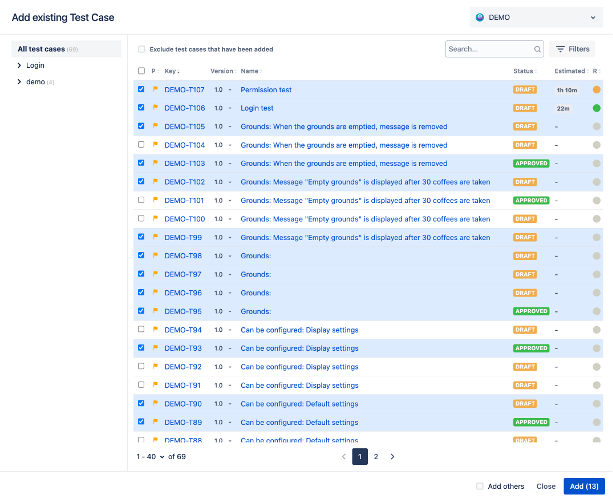
Click the image to enlarge it.
With test cases added to the new test cycle, you can drag-and-drop to reorder, delete, filter, and assign testers and environments.
Tabs allow you to do the following:
The Test Cases tab lets you assign testers and target environments for each test case.
The Traceability tab lets you link Jira issues, Confluence pages, Web URLs, and associated test plans to the test cycle.
The Attachments and Comments tabs allow you to attach files and record comments.
The History tab lets you track changes made to the test cycle.
Click Save.
Your test cycle is created, and a notification appears on the screen.
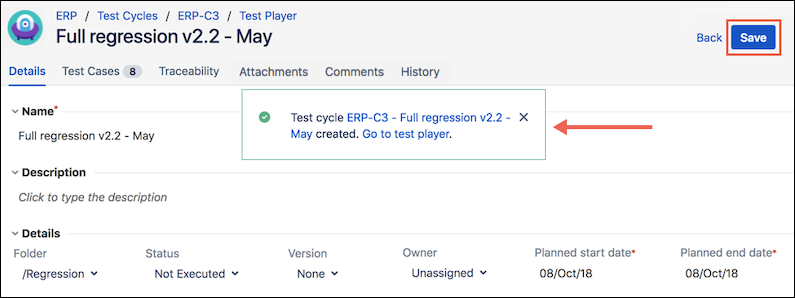
Click the image to enlarge it.
Note
You can click Go to test player to execute the test cases immediately.